If you’ve got a backyard shed from Affordable Portable Structures, you’re already one step closer to creating your very own mini greenhouse. Living in Central Texas, where the sun shines bright and the growing season is long, transforming your garden shed into a greenhouse is a fantastic way to nurture plants year-round, protect them from unpredictable weather, and maybe even grow some fresh veggies or flowers to brighten up your space. At Affordable Portable Structures, we’ve seen our customers get super creative with their sheds, and turning one into a mini greenhouse is easier than you might think. Let’s walk through the steps to make it happen, with a few tips tailored to our Austin climate.
Why Turn Your Shed Into a Greenhouse?
Before we dive in, let’s talk about why this is such a great idea. A greenhouse lets you control light, temperature, and humidity, creating the perfect environment for plants. Whether you’re starting seeds early for spring, growing herbs for your kitchen, or cultivating exotic plants that need a little extra love, a mini greenhouse made from your shed can save you money compared to buying a standalone greenhouse. Plus, it’s a fun project that adds value to your property and makes your backyard even more inviting.
Our sheds at Affordable Portable Structures are built tough to handle Texas weather, from scorching summers to the occasional cold snap. With a few tweaks, your shed can become a plant paradise. Here’s how to do it.
Step 1: Choose the Right Shed
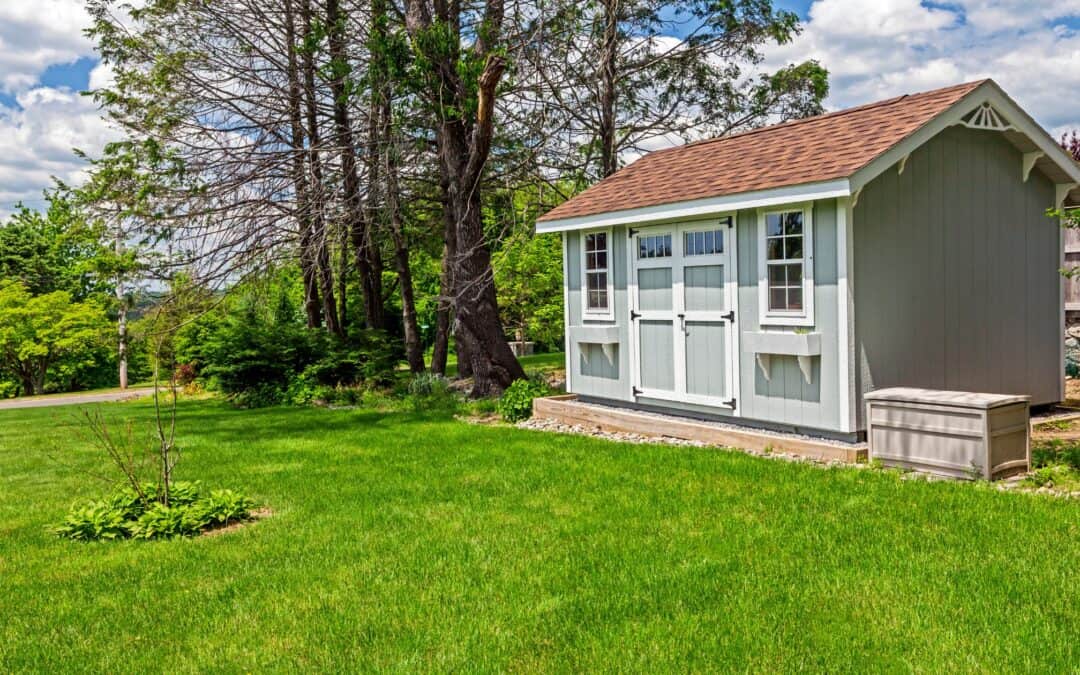
If you’re shopping for a shed from Affordable Portable Structures, you’ve got plenty of options to pick from—our sheds come in various sizes and styles, perfect for any Austin backyard. For a mini greenhouse, consider a shed with plenty of natural light potential. Our models with windows or the option to add them are ideal. A shed between 8×10 and 12×16 feet gives you enough space to work comfortably without overwhelming your yard.
Already have one of our sheds? Awesome! Check that it’s in good shape—solid walls, a sturdy roof, and no major leaks. If you need a quick repair or upgrade, our team can help you get your shed greenhouse-ready.
Step 2: Let There Be Light
Greenhouses are all about light, and your shed is no exception. Most plants need at least 6–8 hours of sunlight daily, so position your shed (if it’s not already set) where it gets plenty of sun, ideally facing south or southeast to catch those morning rays. Austin’s sunny climate is perfect for this, but you’ll want to avoid spots shaded by trees or buildings.
To maximize light, add windows or replace solid panels with clear or translucent materials. Polycarbonate panels are a great choice—they’re durable, let in diffused light (which plants love), and can be installed on the walls or roof. If you’re handy, you can cut openings for windows yourself, but our team at Affordable Portable Structures can customize your shed with window placements to suit your greenhouse needs. You can also add skylights for extra light from above.
Pro tip: If you’re worried about too much Texas sun scorching your plants, consider UV-resistant polycarbonate or add shade cloth during the hottest months.
Step 3: Ventilation Is Key
Good air circulation keeps your greenhouse from turning into a sauna (and trust us, Austin summers can make that happen fast). Install vents or small fans to keep air moving. You can add vents near the roof to let hot air escape and lower vents or windows to draw in cooler air. If your shed doesn’t have windows that open, a simple exhaust fan or a couple of louvered vents can do the trick.
For a budget-friendly option, prop open a window or door during cooler parts of the day. Just keep an eye on nighttime temps in winter—Central Texas can dip below freezing, so you’ll want to close things up to keep your plants cozy.
Step 4: Insulate and Weatherproof
To make your greenhouse functional year-round, you’ll need to keep the temperature stable. Our sheds are built to withstand Austin’s weather, but adding some insulation can help regulate heat and cold. Line the interior walls with bubble wrap insulation or foam boards for a budget-friendly solution. These materials trap heat without blocking light.
Seal any gaps or cracks to prevent drafts, and consider adding weatherstripping around doors and windows. If you’re using your greenhouse in winter, a small space heater (safely installed, of course) can keep things warm during those rare chilly Austin nights.
Step 5: Create a Plant-Friendly Interior
Now for the fun part—setting up the inside! You’ll need shelves or benches to hold your plants. At Affordable Portable Structures, we can customize your shed with built-in shelving, or you can add your own using sturdy materials like metal or treated wood. Arrange shelves to maximize light exposure, keeping taller plants lower and smaller ones higher up.
For watering, set up a simple system that works for you. A watering can is fine for small setups, but if you’re growing a lot, consider a drip irrigation system to save time. Austin’s water restrictions can be a factor, so collect rainwater in a barrel outside your shed to keep your plants hydrated sustainably.
Don’t forget about flooring—gravel or pavers work well for drainage and are easy to clean. If your shed has a wooden floor, cover it with a waterproof mat to protect it from spills.
Step 6: Control Temperature and Humidity
Plants thrive in specific conditions, and in Austin, you’ll need to manage both heat and humidity. A thermometer and hygrometer are must-haves to monitor the environment. For cooling, shade cloths or reflective tarps can help during summer. For humidity, a small humidifier or even trays of water with pebbles can add moisture to the air.
If you’re growing tropical plants, aim for 50–70% humidity. For succulents or cacti (perfect for our Texas climate), you can keep things drier. A small fan can also help with humidity control by keeping air circulating.
Step 7: Start Growing!
Now that your shed is greenhouse-ready, it’s time to plant! Start with easy growers like herbs (basil, cilantro, and mint do great in Austin), leafy greens, or even tomatoes for a taste of summer all year. If you’re feeling adventurous, try some native Texas plants like black-eyed Susans or milkweed to attract pollinators.
Experiment with seed starting in early spring to get a jump on the growing season. Your mini greenhouse will protect young plants from late frosts and give them a strong start.
Bonus Tips for Austin Gardeners
- Pest Control: Keep an eye out for aphids or spider mites. Use natural remedies like neem oil to keep pests at bay without harming your plants.
- Seasonal Adjustments: In summer, open vents early to avoid overheating. In winter, add bubble wrap or extra insulation to keep warmth in.
- Get Creative: Paint the interior white to reflect light or add grow lights for cloudy days or low-light plants.
Ready to Get Started?
Turning your Affordable Portable Structures shed into a mini greenhouse is a rewarding way to bring your gardening game to the next level. Whether you’re a seasoned grower or just starting out, this project lets you make the most of your backyard and enjoy fresh, homegrown goodies year-round. If you need help picking the perfect shed or customizing one for your greenhouse dreams, swing by our lot near Austin or give us a call. Our team’s here to help you create a space that’s as functional as it is beautiful.
Happy gardening, y’all!
Recent Comments