If you’re thinking about adding a storage shed from Affordable Portable Structures to your backyard, you’re making a smart move. A shed is perfect for storing tools, gardening gear, or even creating a cozy workshop, all while boosting your property’s value. But before your new shed arrives, you need to prep your yard to ensure it’s a smooth process and your shed stands strong for years to come. Living in Central Texas, with our unique blend of rocky soil, scorching summers, and occasional downpours, means a little extra planning is key. Don’t worry—this guide will walk you through the steps to get your yard shed-ready in no time, with tips tailored to our Austin-area climate. Let’s dive in!
Why Prep Your Yard?
Proper site preparation ensures your shed stays level, stable, and protected from the elements. In Central Texas, where the ground can be hard as limestone and rain can turn your yard into a muddy mess, a good foundation prevents issues like shifting, water damage, or uneven wear. Plus, a well-prepped site makes delivery and installation from Affordable Portable Structures a breeze. Whether you’re in Austin, Round Rock, or out in the Hill Country, these steps will set you up for success.
Step 1: Choose the Perfect Spot
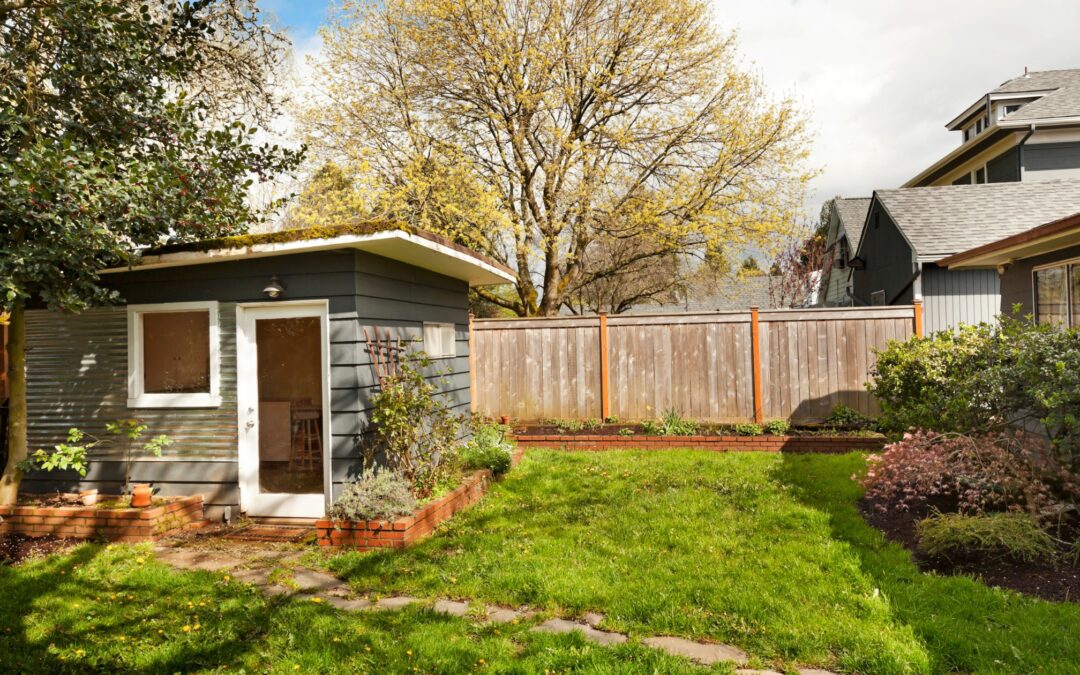
First things first—pick the right location for your shed. Think about how you’ll use it. Need easy access for lawnmowers or bikes? Keep it close to the house. Planning a garden shed? Place it near your planting beds. Here are a few things to consider for Central Texas yards:
- Sun and Shade: Our intense Texas sun can heat up a shed fast. If you’re storing heat-sensitive items, choose a spot with some afternoon shade. For garden sheds, morning sun is ideal.
- Drainage: Avoid low-lying areas where water pools after heavy rains (and we know Central Texas can get some gully-washers!). A slight slope is fine, but you’ll need to level it.
- Accessibility: Make sure there’s a clear path for our delivery team to bring your shed in. Check for low-hanging branches, tight gates, or other obstacles. Affordable Portable Structures offers free delivery within 50 miles of Austin, so let’s make it easy for everyone!
Check local zoning rules or HOA regulations in places like Cedar Park or Georgetown. Some areas require permits or have setback rules (like keeping the shed a certain distance from property lines). A quick call to your local city office can save headaches later.
Step 2: Measure and Clear the Area
Once you’ve picked your spot, measure the area to ensure it fits your shed. At Affordable Portable Structures, our sheds come in sizes from 8×10 to 16×40, so double-check your shed’s dimensions. Add at least 2–3 feet of extra space around the perimeter for access and maintenance.
Clear the area of grass, weeds, rocks, or debris. Central Texas soil can be rocky, so you may need a shovel or pickaxe to tackle stubborn stones. If there’s thick vegetation, a weed whacker or lawnmower can help. Pro tip: If you’re dealing with tough Bermuda grass (common around here), lay down a tarp or landscaping fabric temporarily to smother it.
Step 3: Level the Ground
A level foundation is critical to keep your shed stable and prevent doors from sticking or floors from warping. In Central Texas, our clay-heavy or rocky soil can make leveling a challenge, but it’s doable with some elbow grease.
- Check for Level: Use a long level or a string with a line level to check the slope. If the ground is uneven by more than a few inches, you’ll need to do some grading.
- Remove or Add Soil: For high spots, dig out excess dirt. For low spots, add fill dirt or gravel. Compact the soil with a tamper to create a firm base.
- Consider a Foundation: For the best results, we recommend a gravel or concrete foundation. Gravel is budget-friendly and great for drainage, while concrete offers a permanent, sturdy base. Affordable Portable Structures can advise on the best foundation for your shed model.
If you’re not sure about leveling, our team can recommend local contractors around Austin who specialize in site prep.
Step 4: Choose the Right Foundation
Your foundation keeps your shed off the ground, protecting it from moisture and pests like termites (yep, they’re a thing in Central Texas). Here are the best options:
- Gravel Base: Spread 4–6 inches of crushed stone or gravel in a wooden or metal frame. It’s affordable, promotes drainage, and works well for most sheds. Tamp it down to keep it even.
- Concrete Slab: For larger sheds or permanent setups, a concrete slab is rock-solid. Hire a pro to pour it level, or DIY if you’re experienced. Make sure it’s slightly larger than your shed’s footprint.
- Concrete Blocks or Piers: For a quicker option, use concrete blocks or piers to elevate your shed. Place them at the corners and along the sides, ensuring they’re level. This works great for smaller sheds.
In Central Texas, where heavy rains can erode soil, a gravel or concrete base helps prevent water from pooling under your shed.
Step 5: Plan for Drainage
Austin’s flash floods and clay soil mean drainage is a big deal. Ensure water flows away from your shed by sloping the surrounding ground slightly (about 1–2% grade). If your yard is prone to standing water, consider adding a French drain or a shallow trench filled with gravel to redirect runoff.
Step 6: Check for Utilities
Before digging, call 811 to have underground utilities (like gas, water, or electric lines) marked. Central Texas has a lot of limestone, so digging can be tough, and hitting a utility line is the last thing you need. If you plan to run electricity to your shed for lighting or a workshop, consult an electrician early to plan conduit placement.
Step 7: Final Touches Before Delivery
Before your Affordable Portable Structures shed arrives, do a final check:
- Ensure the delivery path is at least 3 feet wide and free of obstacles.
- Confirm the site is level and the foundation is ready.
- Remove any sprinklers or landscaping that might get in the way.
Let us know about any specific site conditions when you order, and our team will work with you to ensure a smooth delivery. We’ve been delivering sheds around Austin, Pflugerville, and beyond for years, so we know how to handle Central Texas terrain.
Bonus Tips for Central Texas
- Beat the Heat: If you’re prepping in summer, start early in the morning to avoid the Austin heat. Stay hydrated, y’all!
- Weed Control: Lay landscaping fabric under your gravel base to keep weeds from creeping up.
- Pest Prep: Sprinkle diatomaceous earth around the foundation to deter ants and other critters common in our area.
Ready for Your New Shed?
Prepping your yard for a new shed doesn’t have to be overwhelming. With a little planning and effort, you’ll have a solid foundation that keeps your Affordable Portable Structures shed looking great and functioning perfectly for years. Whether you’re in Austin, Buda, or out in Dripping Springs, our team is here to help you choose the perfect shed and answer any questions about site prep. Stop by our lot near Austin or give us a call to get started. Your dream shed is just a few steps away!
Happy shed-building, Central Texas!
Recent Comments