Storage sheds are an essential part of any household, providing much-needed extra storage space for tools, equipment, and other outdoor belongings. However, purchasing a pre-built shed can be expensive, and often doesn’t meet your specific storage needs. A DIY storage shed can be a great solution to this problem, as it allows you to customize the design according to your requirements, while also being a fun and rewarding project to undertake. In this step-by-step guide, we’ll take you through the process of building your very own DIY storage shed.
Planning and Preparation:
The first step in building a DIY storage shed is careful planning and preparation. Start by deciding on the location of the shed, ensuring that it meets any zoning requirements and is suitable for your needs. Next, determine what size shed you require and draw up a floor plan. This will help you to estimate the amount of materials you’ll need and create a list for purchasing.
Gathering Materials:
Once you have your plans in place, it’s time to gather the materials required for your DIY storage shed. These usually include timber, roof trusses, roofing materials, nails, screws, and fittings. You can either purchase these materials from a hardware store or source them from a local lumber yard.
Building the Foundation:
The foundation is the most important part of the shed, as it ensures stability and durability. Start by excavating the area where you plan to lay the foundation, making sure it’s level. Next, lay down a layer of gravel or crushed stone and then build a frame using pressure-treated lumber. Finally, fill in the frame with concrete, ensuring that it’s level and smooth.
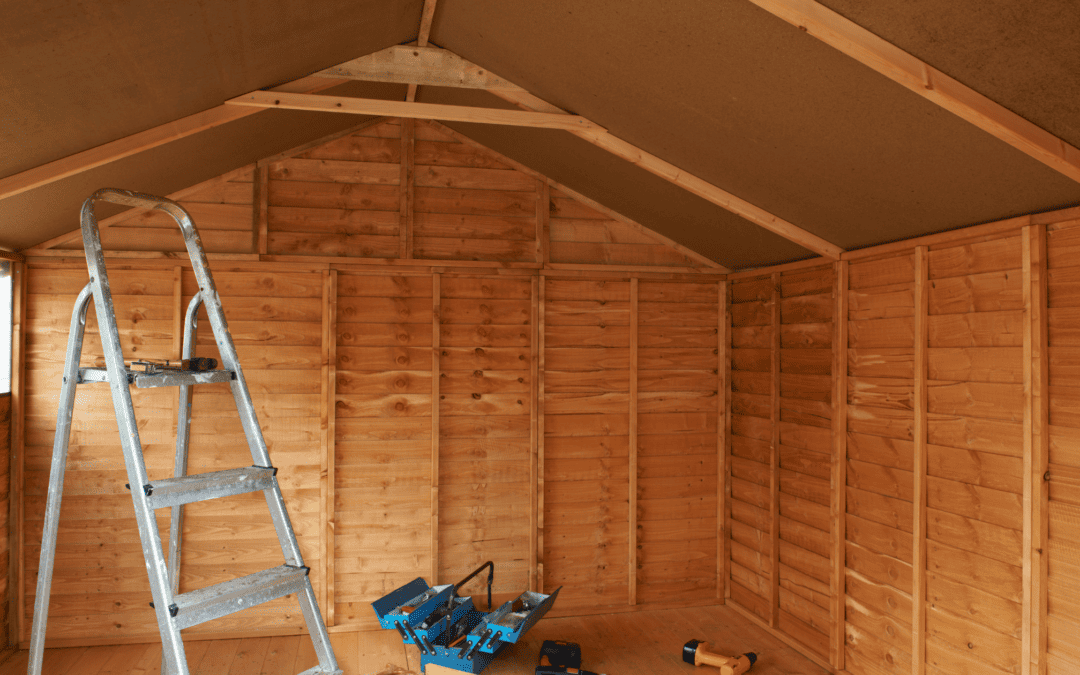
Constructing the Walls and Roof:
With the foundation in place, it’s time to start constructing the walls and roof of your DIY storage shed. Begin by cutting the timber to size and nailing it together to form the walls. Once the walls are in place, add the roof trusses, ensuring that they’re spaced evenly. Finally, install the roofing materials and add any additional fittings, such as windows and doors.
Painting and Finishing:
The final step in building your DIY storage shed is painting and finishing. Start by treating any exposed timber with wood preservative, to protect it from weather damage. Next, paint the shed in your desired color, using a weather-resistant exterior paint. Finally, add any finishing touches, such as shelving and storage racks, to maximize the storage capacity of your shed.
Conclusion
Building a DIY storage shed can be a fun and rewarding project, providing you with a customized storage solution and the satisfaction of having created something with your own hands. By following the steps outlined in this guide, you’ll be well on your way to building your very own DIY storage shed. Remember to plan carefully, gather the right materials, build a solid foundation, construct the walls and roof, and finish with a coat of paint and any additional features you require. A DIY storage shed will not only provide you with extra storage space but also add value to your property.
Recent Comments